
How to Install Light Fixtures: A DIY Guide for Tulsa Homeowners


Installing a light fixture can be a rewarding DIY project for Tulsa homeowners. Whether you're updating your space or replacing an old fixture, following the right steps can ensure a safe and successful installation. Here’s a step-by-step guide to help you through the process.
Gather Your Tools and Materials
Before starting, make sure you have all the necessary tools and materials. You’ll need a screwdriver, wire stripper, voltage tester, and possibly a ladder. Additionally, ensure you have your new light fixture and any included hardware.
- Screwdriver
- Wire stripper
- Voltage tester
- Ladder
- Light fixture and hardware
Safety First: Turn Off the Power
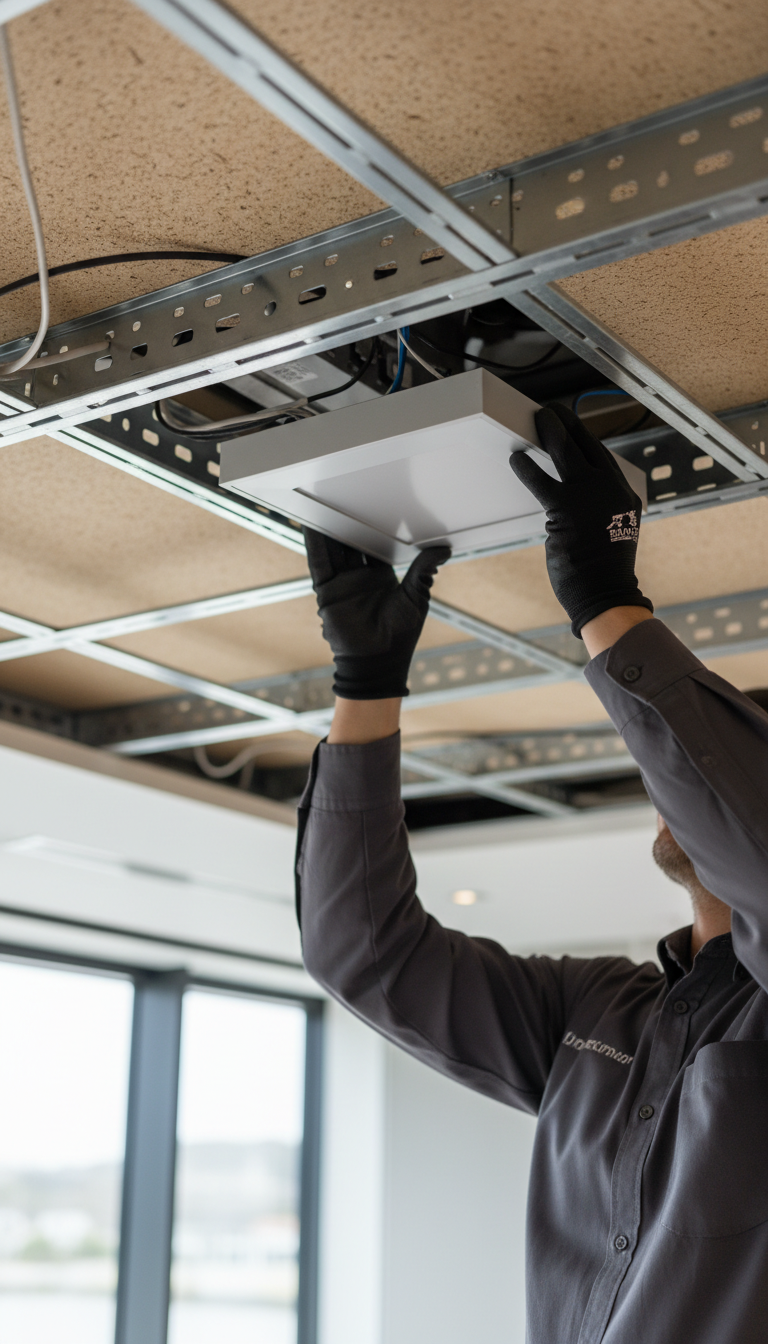
Before you begin working with electrical components, it’s crucial to turn off the power to the light fixture you’re replacing. This can be done at your home’s circuit breaker. Use a voltage tester to confirm that the power is off before proceeding.
Remove the Old Fixture
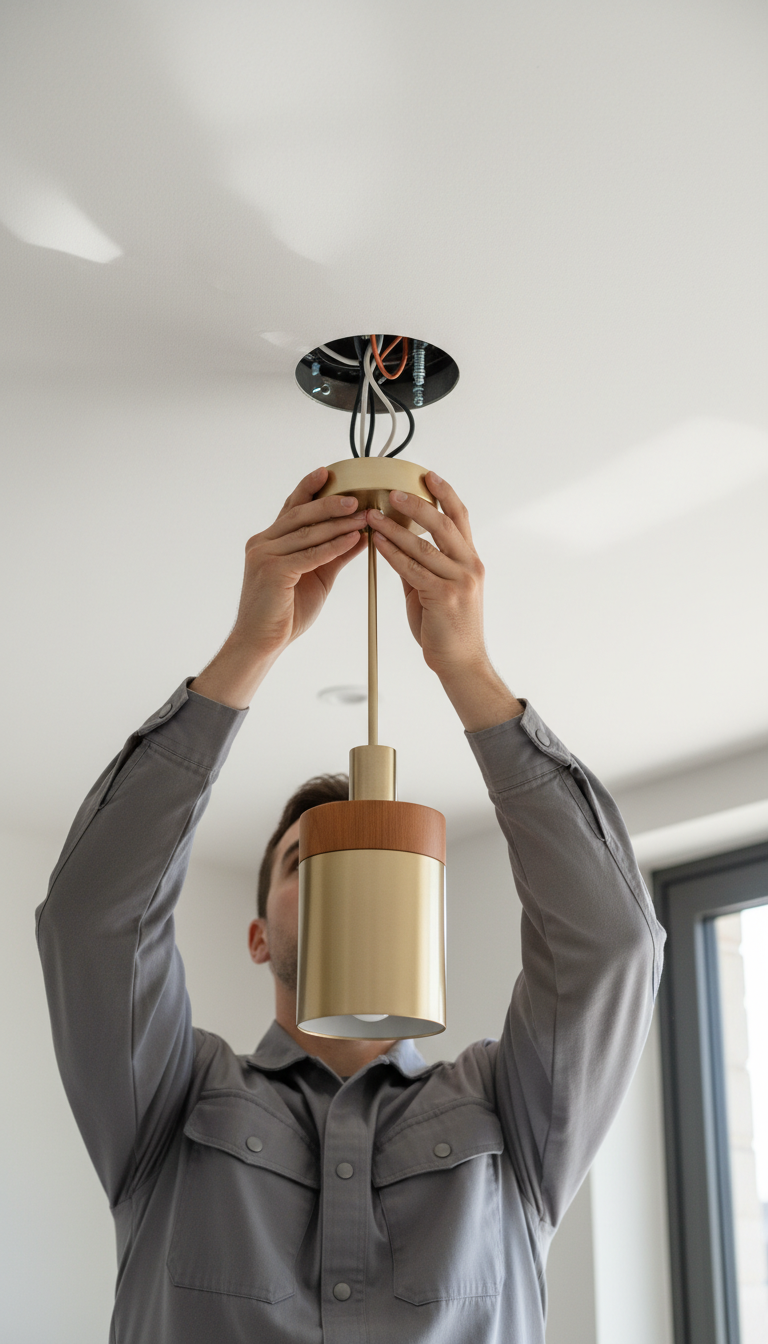
Once the power is off, carefully remove the old light fixture. Unscrew any screws or bolts holding it in place, and gently pull it away from the ceiling. Disconnect the wires by unscrewing the wire nuts and separating the fixture wires from the house wires.
Install the New Mounting Bracket
Most new light fixtures come with a mounting bracket. Attach this bracket to the electrical box in the ceiling using the screws provided. Make sure it is secure, as it will support the weight of the new fixture.
Connect the Wires
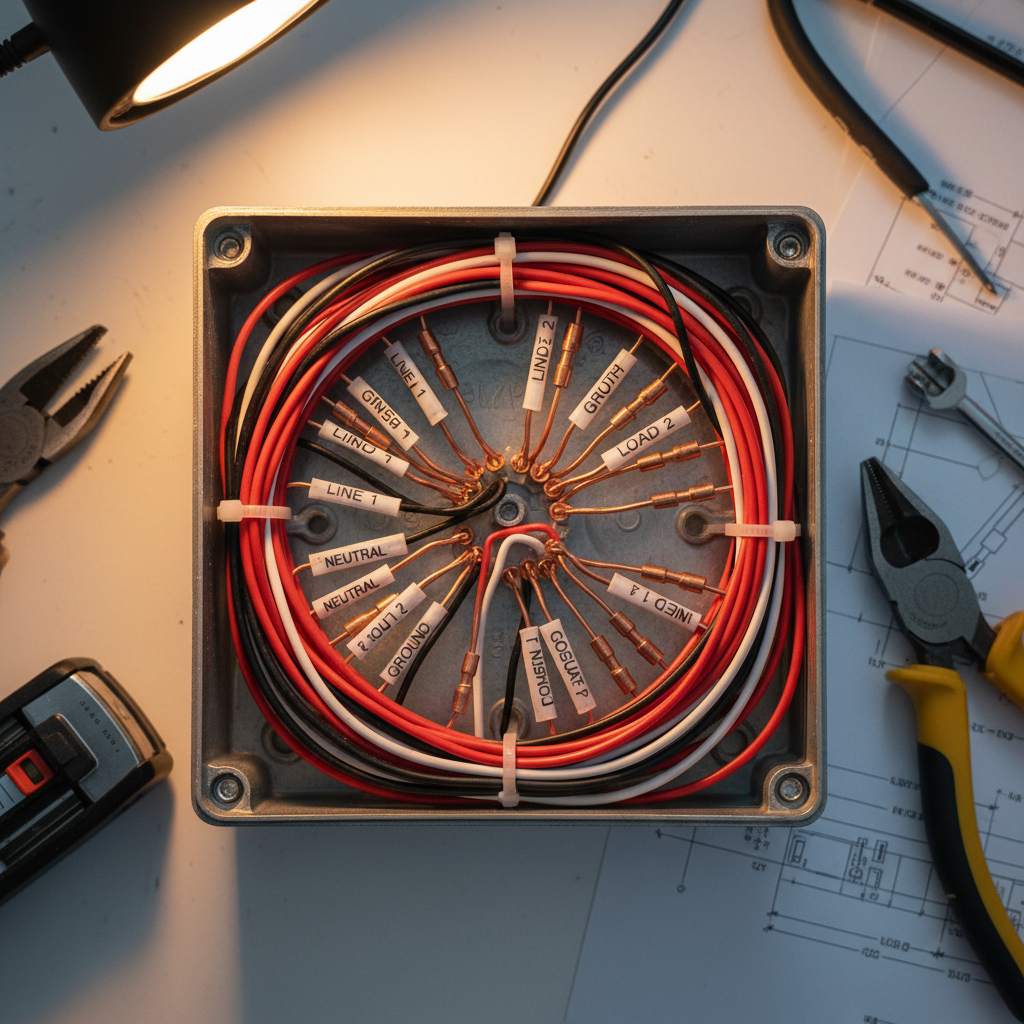
Using a wire stripper, strip about half an inch of insulation from the ends of the house wires if necessary. Connect the fixture wires to the house wires by twisting them together and securing them with wire nuts. Typically, you will connect black to black, white to white, and ground to ground (usually a green or bare wire).
Attach the New Light Fixture
Once the wires are connected, carefully tuck them into the electrical box. Align the fixture with the mounting bracket and secure it with the provided screws or bolts. Make sure the fixture is flush against the ceiling and stable.
Test Your Installation
After the fixture is securely in place, turn the power back on at the circuit breaker. Test the light switch to ensure the fixture is working properly. If it does not turn on, double-check your wiring connections.
Enjoy Your New Light Fixture
Congratulations! You’ve successfully installed your new light fixture. Enjoy the improved lighting and the satisfaction of having completed a DIY project. Regularly check the fixture for stability and proper function to ensure longevity.