
Expert Guide to Painting Your Home: From Prep to Finish


Preparing Your Space
Before you even think about opening a paint can, preparation is key to achieving a professional-looking finish. Start by clearing the room of furniture or covering it with drop cloths. Remove any wall hangings, outlet covers, and light switch plates. This will ensure that your workspace is free from any obstacles that might hinder your painting process.
Next, inspect the walls for imperfections. Fill any holes or cracks with spackle, and sand them down once they're dry. For larger imperfections, consider using a patching compound. This step is crucial for achieving a smooth surface and a flawless paint application.

Gathering Your Materials
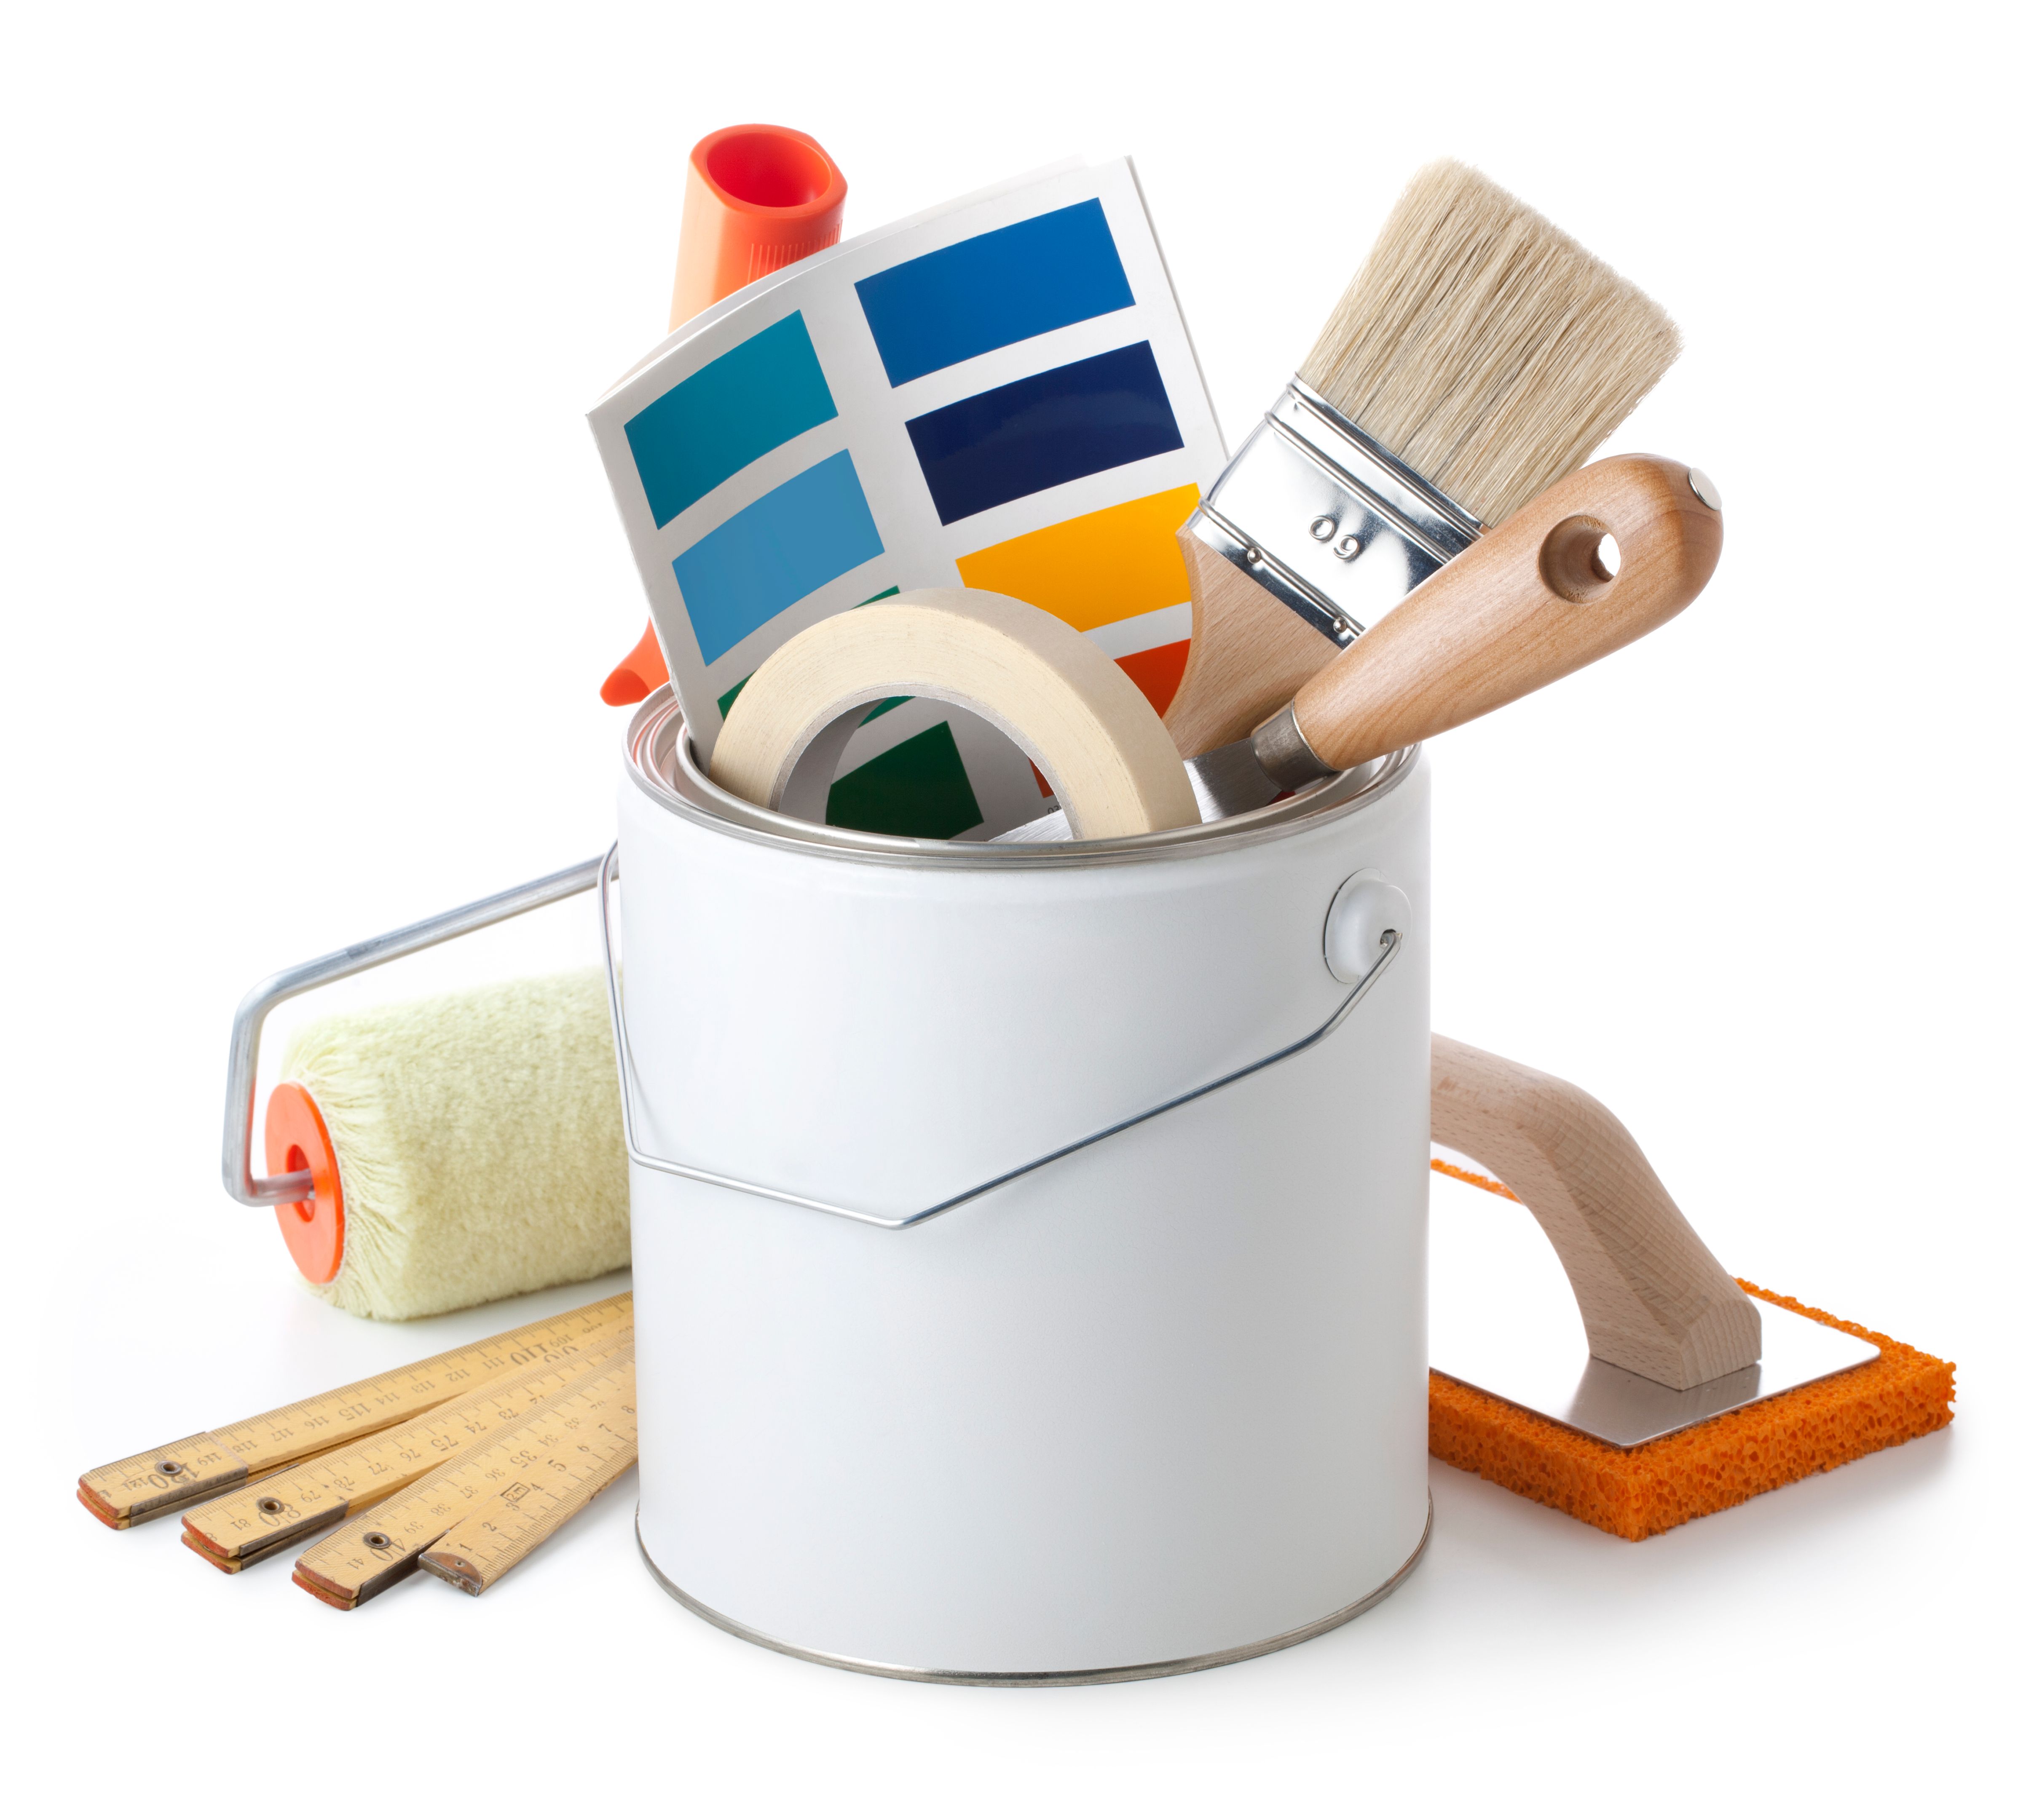
Having the right tools and materials on hand can make a significant difference in your painting experience. You'll need quality brushes, rollers, painter’s tape, and a paint tray. Don’t skimp on these items, as they can affect the final outcome of your project.
When choosing paint, consider both the color and the finish. Flat or matte finishes are great for hiding imperfections, while glossy finishes are more durable and easier to clean, making them ideal for high-traffic areas. Consult with a paint specialist if you're unsure which type is best for your space.
Priming the Walls
Priming is an essential step that many DIY painters overlook. A good primer will help the paint adhere better and ensure even coverage. It’s particularly important if you are painting over a dark color or if your walls are stained.
Apply the primer using a roller for large areas and a brush for edges and corners. Allow the primer to dry completely before moving on to painting. Skipping this step might lead to uneven color or peeling paint down the road.
Painting Techniques
Once your primer is dry, it’s time to start painting. Begin with cutting in—painting the edges and corners of the walls with a brush. This will ensure that you get full coverage in areas that are hard to reach with a roller.
After cutting in, use a roller to apply paint to the larger areas of the wall. Use long, even strokes and work in small sections to maintain a wet edge, which helps prevent streaks. It’s often necessary to apply two coats of paint for optimal coverage and color depth.
Finishing Touches
After your final coat of paint has dried, carefully remove any painter’s tape while the paint is still slightly tacky to avoid peeling. Reattach outlet covers and light switch plates, and move your furniture back into place.
Finally, touch up any small areas where paint may have been missed or uneven. Stand back and admire your hard work—your space should now feel refreshed and revitalized!
Maintaining Your Painted Surfaces
To keep your newly painted walls looking fresh, regular maintenance is advisable. Clean the walls gently with a damp cloth or sponge to remove any dust or dirt buildup. Avoid using harsh chemicals that could damage the paint's finish.
If you encounter any scuffs or marks, these can often be removed with a mild soap solution. For larger touch-ups, keep some leftover paint on hand for easy fixes. This will help maintain the pristine look you've achieved with your hard work.